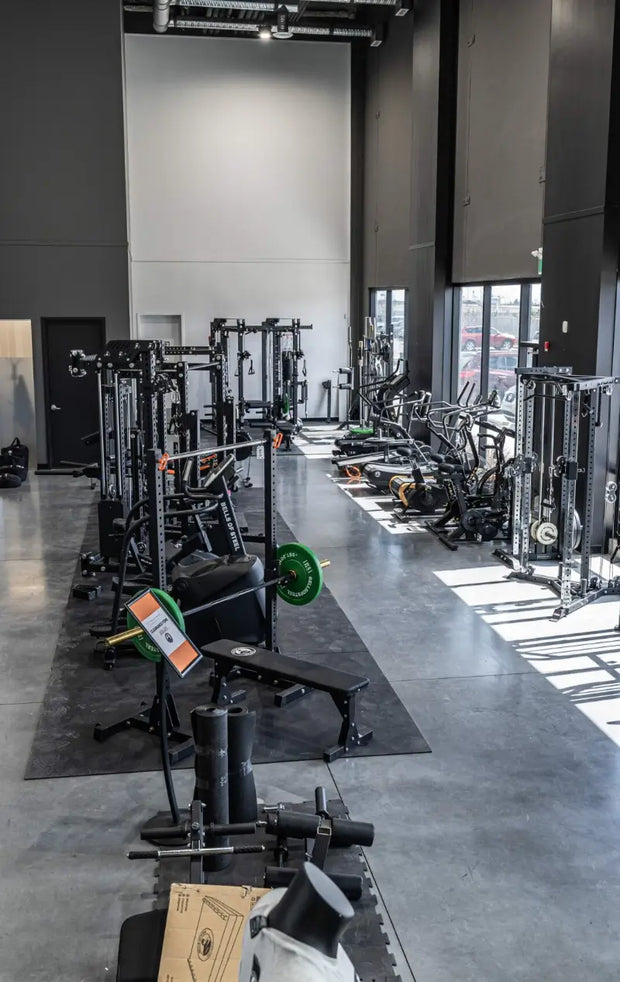
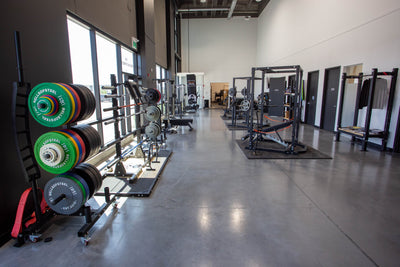
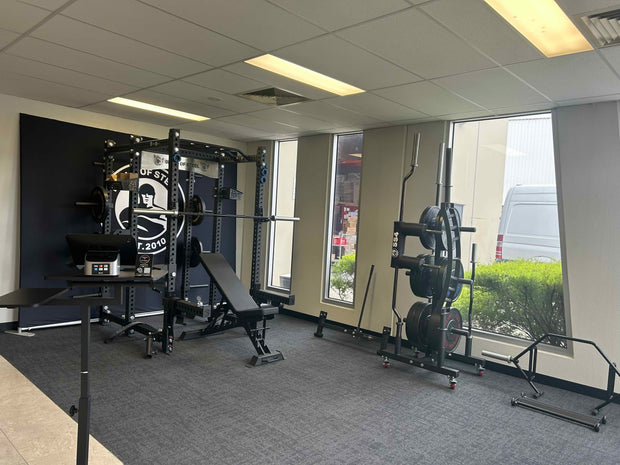
In the treacherous world of weightlifting, where the clanking of iron and the occasional battle cries echo through the hallowed halls of the gym, one must always be prepared for the unexpected.
Enter the mighty safety straps, the unsung heroes of the power rack. These seemingly innocent nylon contraptions hold the power to save us from the perils of failed lifts and catastrophic accidents.
In this guide, we’ll delve into the art of utilizing safety straps to ensure that your lifting adventures are safe while letting you push your limits.
So, strap in and let’s get started! Safety straps are an indispensable tool for lifters who frequent the power rack. These magical contraptions are usually made of sturdy nylon straps with reinforced stitching, ready to bear the weight of your heavy barbell without flinching.
Worried about fabric catching your precious barbell? Fear not, as heavy-duty safety straps can boast an impressive 1000-pound capacity.
Now, why do lifters go head over heels for safety straps?
Well, for starters, they won't leave those unsightly scratches on your cherished barbell like those pin-pipe safeties tend to do. No more cringing at the sight of barbell abuse!
But that's not all. When you set the bar in safety straps, something magical happens. The nylon material acts as a gentle cushion, absorbing and spreading the impact of the bar, resulting in a less jarring experience.When it comes to adjusting those safety straps for a bench press, here's the drill:
- Set up the straps so they droop slightly in the middle, forming a cozy cradle at your chest level.
- Ensure that you can still touch your chest with the barbell while maintaining a standard arched back and taking a big breath. After all, does it even count if you don’t touch your chest?
- In the unfortunate event of a failed lift, you can simply go flat or flatten your back arch and the barbell will gracefully come to rest on the waiting arms of the safety straps.
- Once the failed lift is behind you, all you need to do is slide out from under the bar like a majestic slug.
Pro-tip: Ensure the straps are positioned so that they remain elevated above your head. We wouldn't want any unexpected head-on encounters with the bar, now would we?
For the leg-day lovers out there, safety straps are here to save the day once again. Here's how to properly adjust them for the back squat:
- Set up the straps so they droop in the middle when you're almost at the bottom of your squat. It's like a little hammock, waiting to catch you if things go awry.
- Pay attention, because this is crucial: position the straps approximately 1-2 inches BELOW your normal squat depth. This way, if the weight becomes too much to bear, the barbell will gently come to rest on the comforting embrace of the straps.
- Should the dreaded failure occur, you can simply squat all the way down, knowing that the safety straps have your back (or rather, your barbell).
- Once the failed squat is behind you, it's time to make your exit. Wiggle out from under the bar, feeling a sense of gratitude for the trusty safety straps that saved you from an embarrassing gym catastrophe
And there you have it, my fellow home gym enthusiast, the art of using safety straps in a power rack.
Embrace the comfort, security, and gentle caress that only these magnificent contraptions can provide. Happy lifting!